




Contents
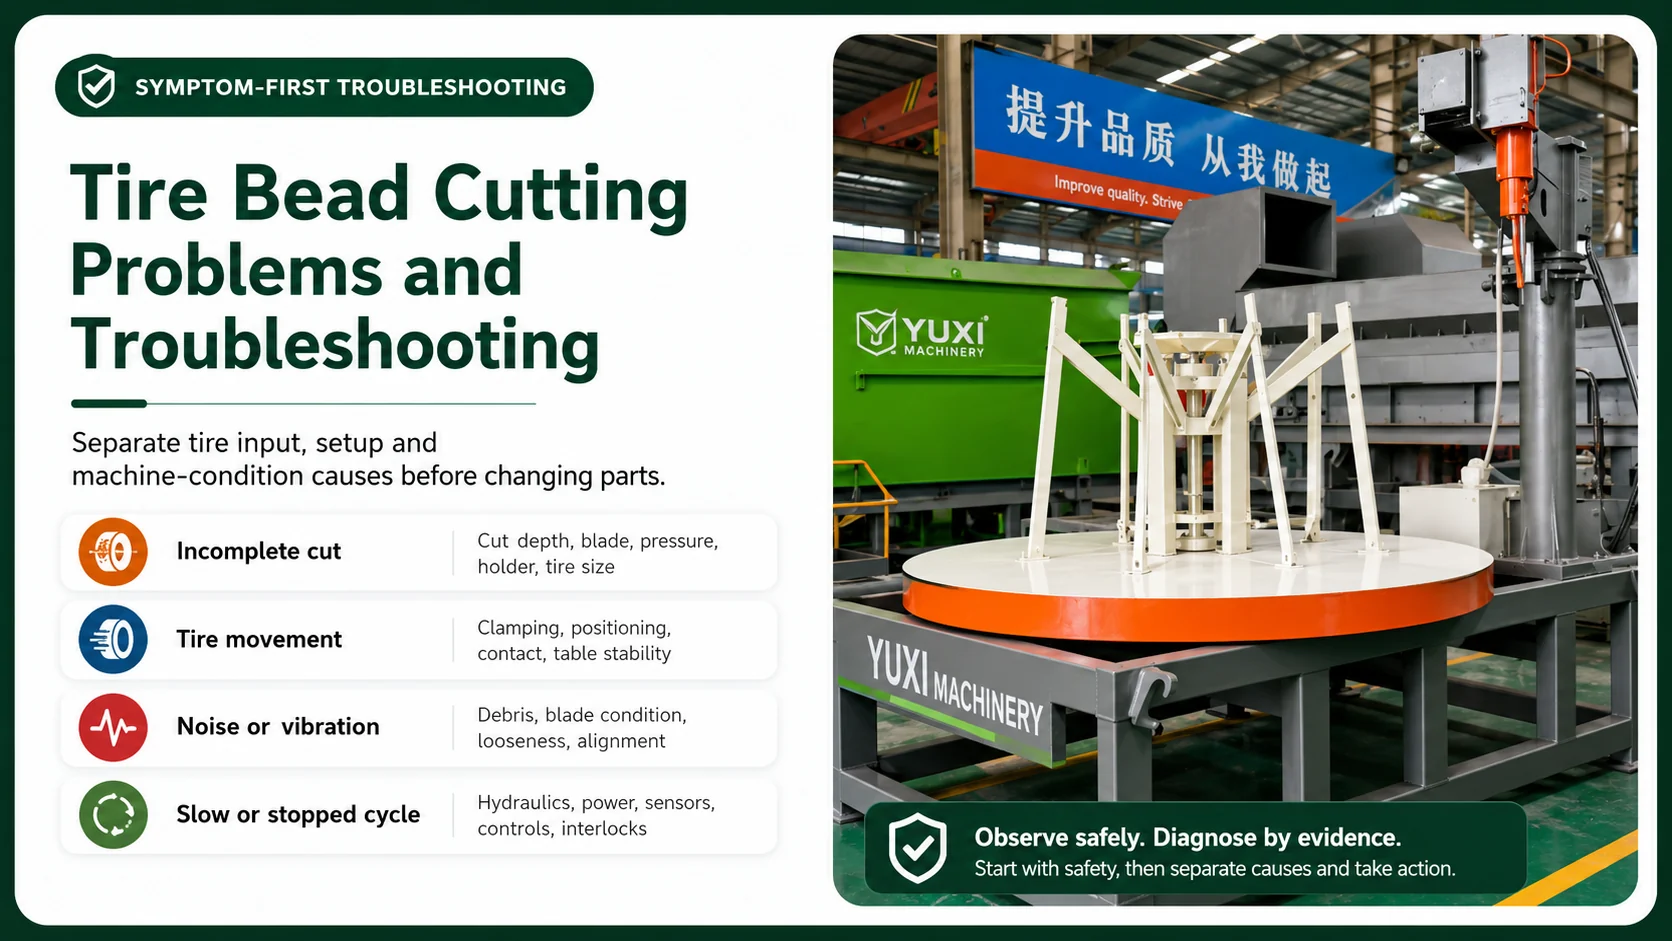
- Quick answer
- Troubleshooting boundary
- Five-level cause ladder
- Quick troubleshooting chart
- Tire moves during cutting
- Incomplete bead separation
- Repeated cutting passes
- Cutting cycle becomes slower
- Abnormal noise or vibration
- Rough or uneven worktable rotation
- Cutter follows the wrong path
- Machine will not start or stops mid-cycle
- Problem occurs only on certain tires
- Safe retest and release
- Troubleshooting record
- What to send YUXI
- FAQ
Quick answer
1. Establish the troubleshooting boundary before touching the machine
Operating observation
Safe-state inspection
Servicing or repair
2. Use a five-level cause ladder
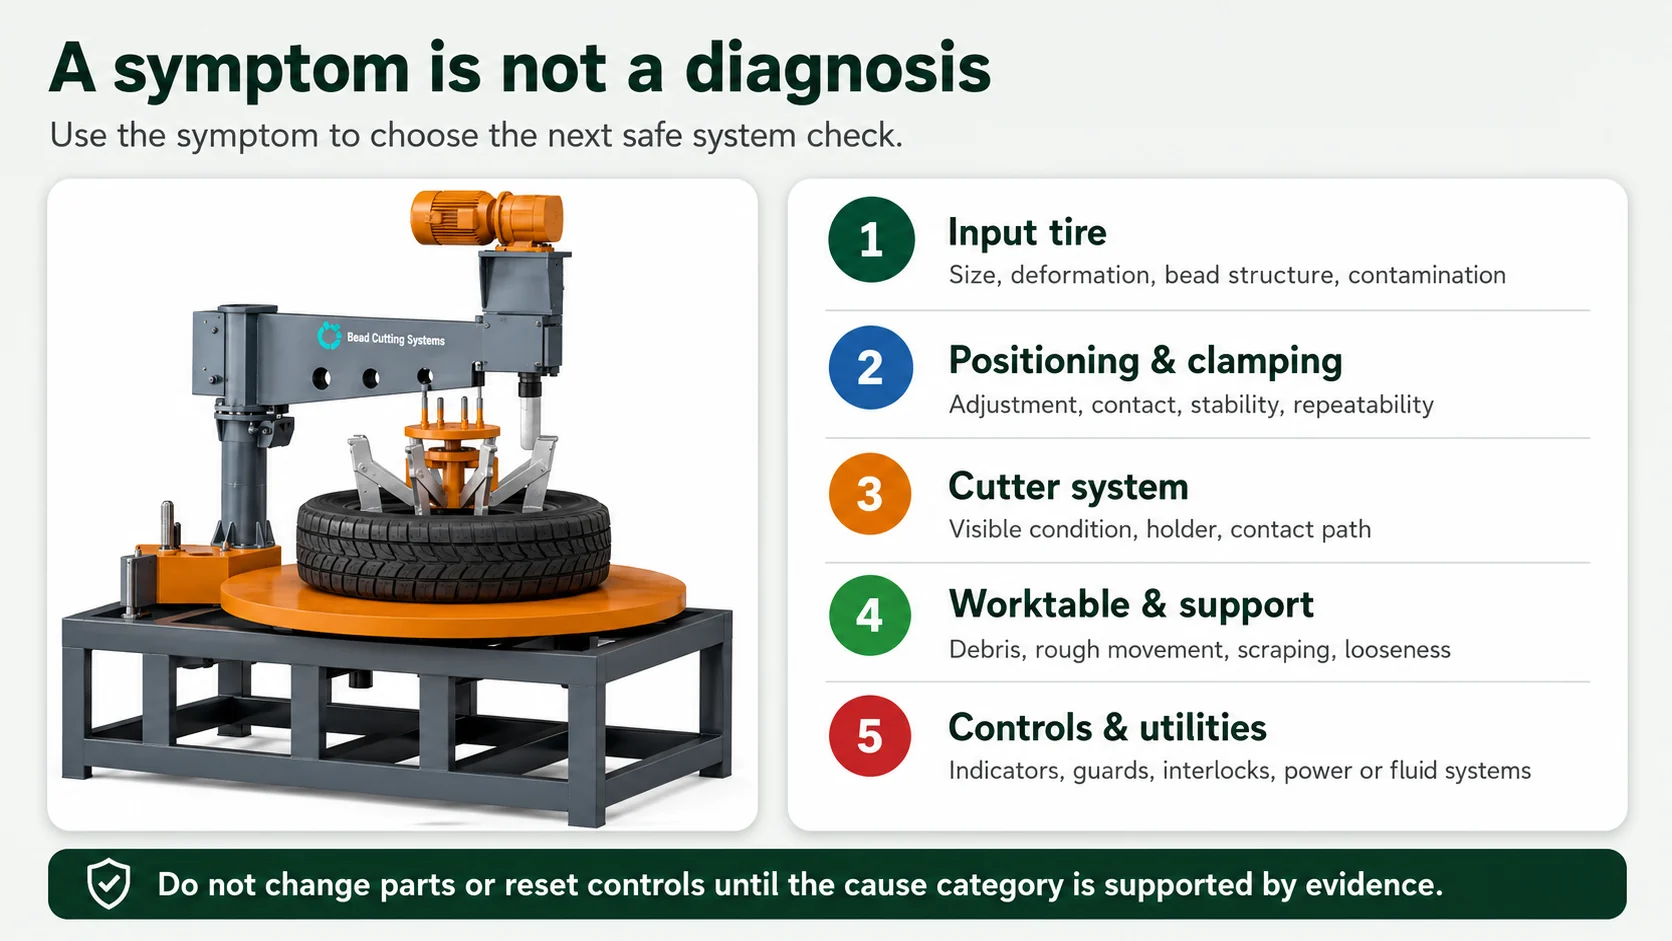
- Input tire: Did the tire category, diameter, deformation, bead structure, contamination or previous damage change?
- Setup: Was the positioning structure adjusted for that tire? Is the tire seated consistently? Is the approved operating sequence being followed?
- Positioning and clamping: Does the tire remain stable from the first contact through the full rotation?
- Cutting and rotation: Does the cutter follow the expected circumference? Does the worktable move smoothly without scraping, binding or visible movement of the support structure?
- Controls and utilities: Are guards, interlocks, indicators, alarms, power conditions and any fitted fluid-power systems in the correct state?
3. Quick tire bead cutter troubleshooting chart
| Observed symptom | Most useful first distinction | Safe first check | Status |
|---|---|---|---|
| Tire moves during the cut | One deformed tire or repeatable clamping problem? | Compare tire category, positioning contact and visible movement from the approved position. | Pause; do not process another tire until stable control is restored. |
| Bead section remains attached | Localized uncut point or full-circumference weak cut? | Record cut location, tire movement, cutter path and worktable behavior. | Pause and inspect under the safe procedure. |
| Second pass is needed | Only one tire family or all normal tires? | Compare representative tires and review recent setup or cutter changes. | Investigate before the symptom becomes routine. |
| Cycle is slower | Handling delay or machine-action delay? | Separate loading, positioning, cutting, release and discharge time. | Pause for a repeatable machine delay; do not force the cycle. |
| New noise or vibration | Occurs before contact, during rotation or only at cutter contact? | Record the exact stage and stop at metal contact, severe vibration or movement. | Keep out of service until the cause is understood. |
| Worktable rotates roughly | Debris/contact or support/drive condition? | Inspect the rotation path only in the authorized safe state. | Do not continue through binding or scraping. |
| Cutter path is irregular | Tire moves, setup changed or cutter support changed? | Compare tire position, circumference path and fresh contact marks. | Stop before repeated abnormal contact damages components. |
| Machine will not start | Normal safety state or unresolved fault/alarm? | Check visible controls, emergency stop, guards, indicators and release status. | Do not bypass a device or open an energized enclosure. |
4. Problem: the tire does not stay stable during cutting
First distinctions
- One tire or a pattern? A severely deformed or damaged tire may behave differently from the normal stream. A repeatable movement across representative tires points more strongly to setup or machine condition.
- Movement before or after cutter contact? Movement before contact suggests positioning or clamping. Movement that begins at contact may also involve cutter path, abnormal resistance or tire structure.
- Same location every cycle? Repeated movement at one rotational position may indicate a contact-path or worktable issue rather than random operator variation.
Safe first checks
5. Problem: the bead section is not completely separated
Possible input or setup causes
- Unusual tire deformation or bead structure.
- Tire outside the confirmed configuration.
- Incorrect positioning for diameter.
- Tire movement during rotation.
- Required output was not defined consistently.
Possible machine-condition causes
- Abnormal cutter contact path.
- Visible cutter damage or dulling.
- Holder or support movement.
- Rough worktable motion.
- Debris or structural contact affecting the cycle.
6. Problem: the machine needs repeated cutting passes
- Separate isolated and recurring events. Record the tire class and visible bead structure rather than combining all tires into one count.
- Compare the first cut. Is the remaining connection at the same point, random, or distributed around the circumference?
- Check stability. A tire that moves can make a serviceable cutter appear ineffective.
- Review recent work. Note any cleaning, adjustment, cutter replacement or maintenance immediately before the symptom began.
- Do not normalize the workaround. Repeated passes can hide deterioration until a more serious contact or component failure appears.
7. Problem: the cutting cycle becomes slower
8. Problem: abnormal noise or vibration
- when the machine starts but before the tire moves;
- when the worktable begins to rotate;
- only when the cutter contacts rubber;
- when the cutter reaches one repeatable position;
- during release or discharge;
- only with one tire category.
9. Problem: the worktable rotates roughly or unevenly
Safe diagnostic sequence
- Stop normal production and identify whether binding, scraping or vibration is present.
- Place the machine in the authorized inspection state before checking for loose rubber, steel-wire fragments, tools or foreign material in the rotation path.
- Look for fresh polished metal, scoring, displaced paint or repeated debris accumulation at one position.
- Check whether the machine frame or fixed supports appear to move relative to the floor.
- Refer drive, bearing, alignment or structural work to the machine documentation and a competent person.
10. Problem: the cutter does not follow the expected path
| Observation | Cause category to compare | Evidence to record |
|---|---|---|
| Path changes with tire size | Positioning setup or configured tire range | Tire dimensions, photos and adjustment used. |
| Path shifts after cutter contact | Tire movement or abnormal resistance | Video of the full cycle and movement start point. |
| Same path error on every normal tire | Support, holder, alignment or worktable condition | Repeat location and visible contact marks after safe isolation. |
| Path became abnormal after maintenance | Release, assembly or adjustment verification | Work order, parts changed and post-maintenance test result. |
| Path error occurs once on a damaged tire | Input-tire variation | Tire deformation and comparison with a representative tire. |
11. Problem: the machine will not start or stops during the cycle
12. Problem: the fault appears only on certain tire families
- tire category and dimensions;
- visible damage or deformation;
- positioning adjustment;
- whether movement occurs;
- cut location and completeness;
- cycle stage where the symptom begins;
- whether the same tire succeeds after the machine is inspected and formally released.
13. Retest only after the cause and machine status are controlled
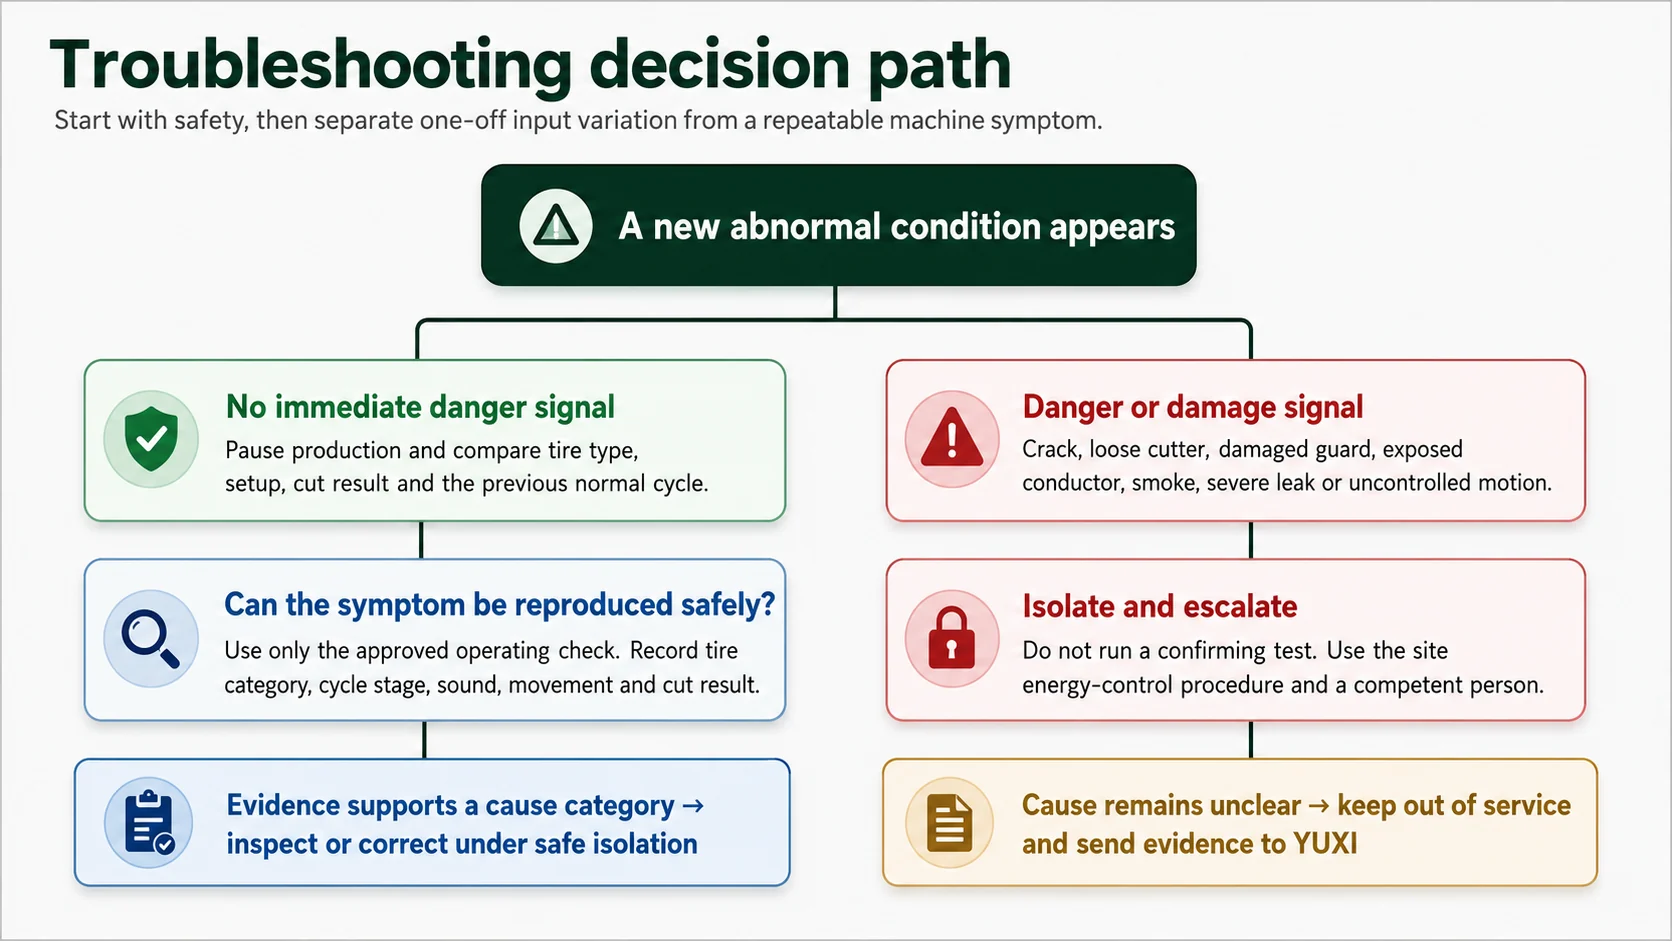
- the identified cause has been corrected or formally controlled;
- tools, loose material and nonessential items have been removed;
- guards and machine components are operationally intact;
- people are safely positioned and affected workers are informed;
- the representative test tire and acceptable cut result are defined;
- the result is recorded and the machine status is formally released.
14. Build a troubleshooting record that reveals patterns
| Record field | Useful entry |
|---|---|
| Machine identification | Asset number, serial reference and supplied configuration. |
| Date, time and shift | Include operator and person reviewing the symptom. |
| Tire input | Category, dimensions, deformation and representative photos. |
| Symptom | What happened, where in the cycle and whether it repeated. |
| Cut result | Complete, partial, repeated pass, irregular path or material movement. |
| Sound and motion | Stage, location, frequency and whether the machine or tire moved. |
| Visible condition | Debris, contact mark, loose-looking part, leak, damage or no visible change. |
| Alarm or indicator | Exact text or state before reset. |
| Recent changes | Tire mix, adjustment, cleaning, cutter work, maintenance or utility interruption. |
| Status | Released, restricted, isolated or awaiting YUXI support. |
15. What to send YUXI when the cause is not clear
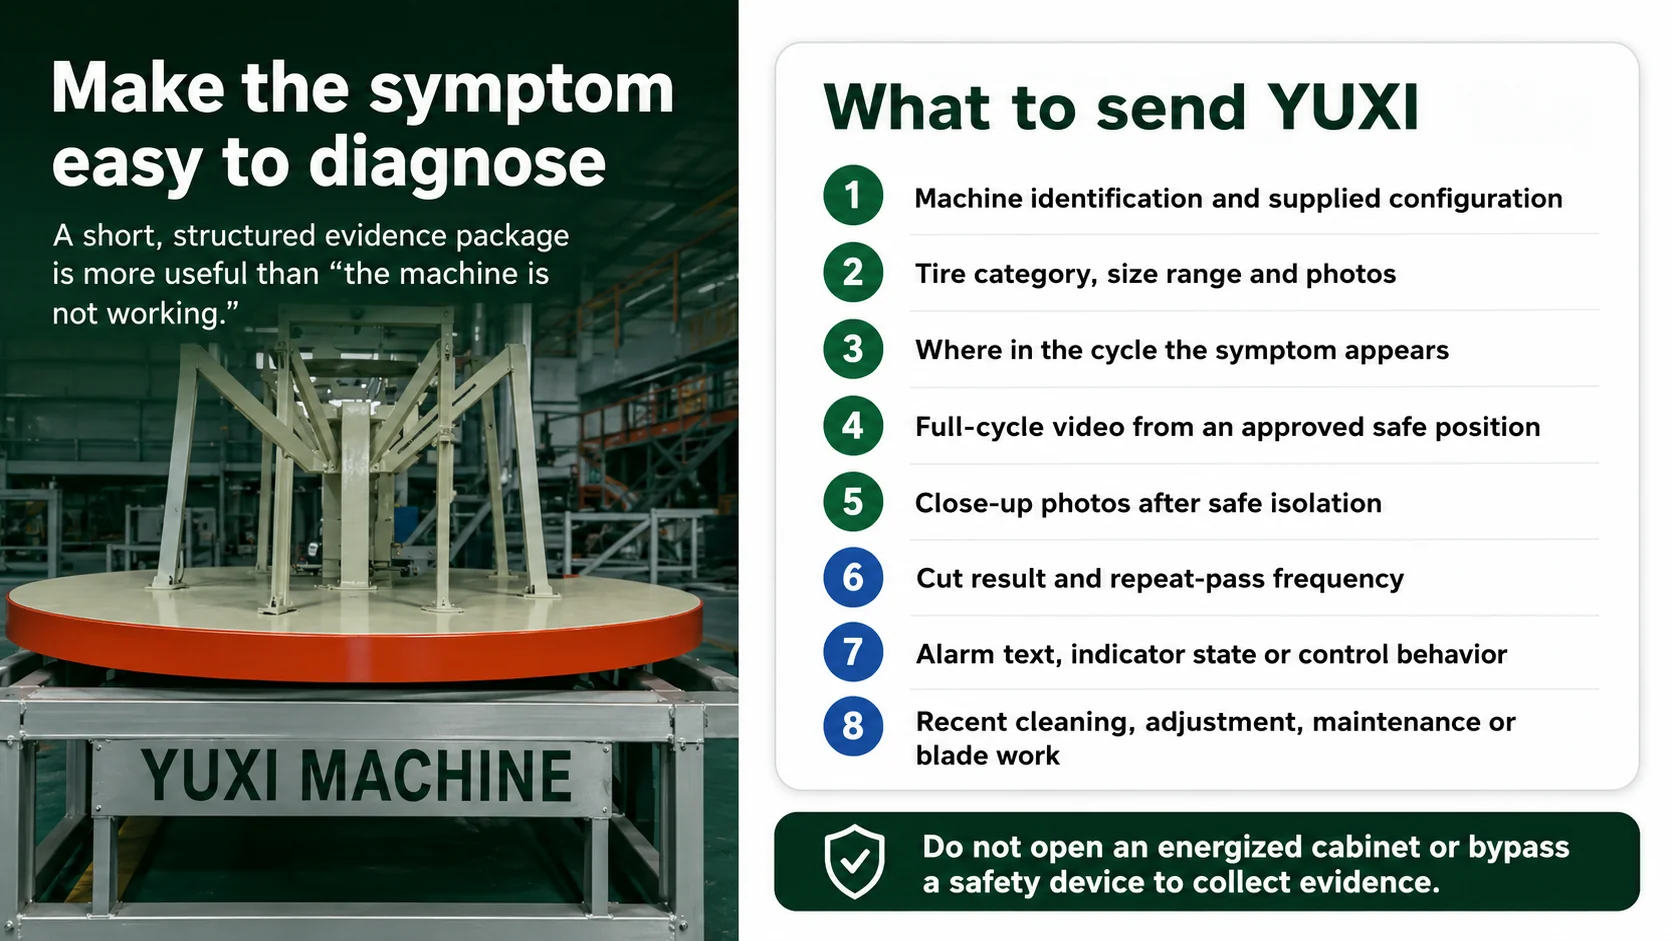
- machine identification and supplied configuration;
- tire category, dimensions and photos of the problem input;
- the exact cycle stage where the symptom begins;
- a short full-cycle video from an approved safe position;
- close-up photos only after the machine is safely isolated;
- cut result, repeat-pass count and whether the fault affects every tire;
- alarm text, indicator state or control behavior before any reset;
- recent cleaning, adjustment, cutter change, maintenance or repair history;
- the current machine status and what has already been ruled out.
Diagnose the supplied configuration—not a generic machine
FAQ
Why does a tire bead cutter leave an incomplete cut?
An incomplete cut can result from tire movement, incorrect positioning, an unsuitable tire input, an abnormal cutter path, cutter condition, debris or rough worktable movement. Check the complete cutting system before treating the blade as the only cause.
Why does the machine need a second cutting pass?
First determine whether the second pass occurs on one unusual tire or across a repeatable tire category. Compare tire size and bead structure, positioning, clamping stability, cutter contact and worktable behavior before changing parts or settings.
What should I do if the tire moves during cutting?
Stop the cycle and do not process another tire until stable positioning and clamping are restored. Check the tire configuration, locating surfaces, clamping condition and worktable movement using the approved procedure.
How can I tell whether poor cutting is a blade problem or a setup problem?
A blade problem is more likely when there is visible dulling, chipping, cracking, deformation or abnormal contact on the cutter. A setup or machine problem is more likely when the symptom changes with tire type, the tire moves, the cut path shifts or the worktable behaves inconsistently. Both categories can exist together.
Why will the tire bead cutting machine not start?
Possible categories include an active emergency stop, an open or failed safety device, an unresolved alarm, missing power or utility conditions, an incomplete maintenance release or a control-system fault. Do not bypass an interlock or open an energized cabinet; use the machine documentation and a competent person.
Can the machine be restarted after a fault is cleared?
It can only be restarted after understanding the reason,the working area is clear,the security guards and components are intact in operation,the affected personnel are safety located,and the machine has been officially resumed according to the on-site procedures
What troubleshooting information should be sent to YUXI?
Send the machine identification, supplied configuration, tire types and sizes, the cycle stage where the symptom occurs, photos and a safe full-cycle video, cut results, alarm information and recent maintenance or adjustment history.
References and source notes
- U.S. Occupational Safety and Health Administration, 29 CFR 1910.212 — General Requirements for All Machines.
- U.S. Occupational Safety and Health Administration, 29 CFR 1910.147 — The Control of Hazardous Energy.
- UK Health and Safety Executive, Maintenance of Work Equipment.
- UK Health and Safety Executive, Inspection of Work Equipment.
- U.S. National Institute of Standards and Technology, Monitoring, Diagnostics and Prognostics for Manufacturing Operations.